Greeting All,
A few years back, I created a post detailing the building of my final system. With only a few changes, that statement has proved mostly true. Creeping up on 10,000 views and receiving a lot of positive feedback, I thought it was time to complete the journey with a complimentary post on the building of the new home for that system. If you’re interested, the original post can be found at https://forum.audiogon.com/discussions/my-final-system-build-in-words-pictures
Let’s start at the beginning. At age 71, we decided to build our final "age in place" home. Some friends joke that the house was designed around the stereo, and there is some truth in that. I selected a bungalow design to guarantee adequate space in the basement development to provide the listening space along with other rooms I wanted. I realize that only a few of us are in a position to create the ideal space we desire, having a blank sheet to begin with, but the take away from this post should be that anyone can tackle a major project if you put you mind to it. I logged 135 days of construction and did everything myself with the exception of taping the drywall and installing the carpet.
This is the floorplan I started with:
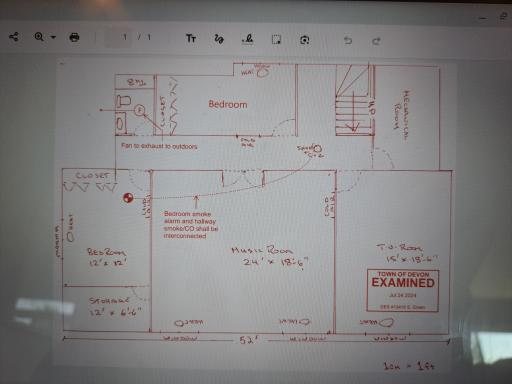
I’m a big believer in getting permits and inspections.
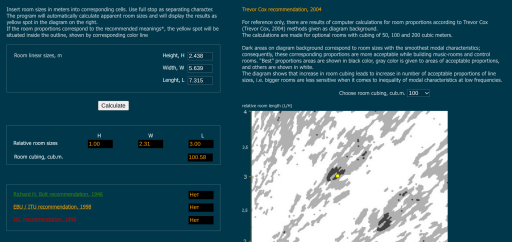
One of the first considerations was the room dimensions. Much has been written on this subject and I read it all. In the end I settled on a calculator that seems to refine the accepted approach. The long read for that can be found here:
https://digistar.cl/Forum/viewtopic.php?t=557
In a nutshell, you can play with any combination of L x W x H until you move the yellow dot into a black area. White is bad, Grey is so-so, and Black is spot on.
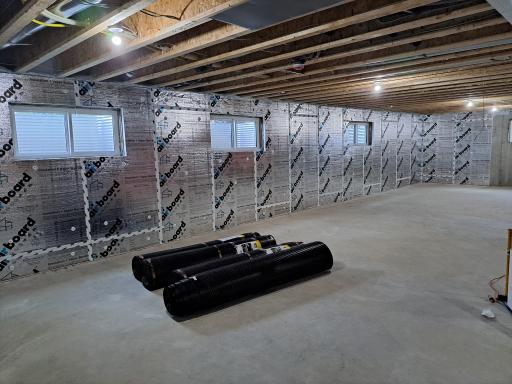
Let the fun begin. Here is Day One:
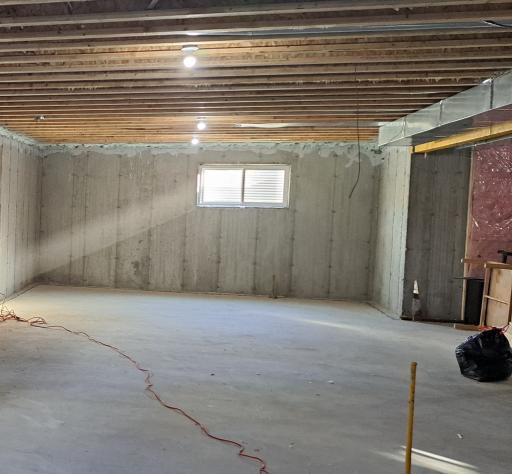
As the listening room is only part of a 1300 sq ft development, much of the construction was based on creating a DRY basement space with plenty of air movement. Anything that would avoid the damp musty smell that many basements fall prey too. I hope this part of the post will have some interest for most readers.
Step One:
Mechanically attach 2 inch rigid insulation with vapor barriers on both sides. Seal all joints with 3M vapor tape
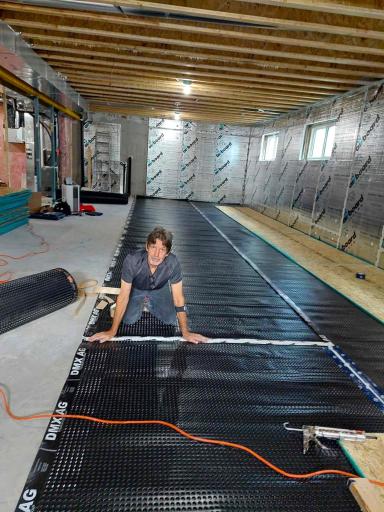
Step Two:
Cover and seal the entire concrete floor with "foundation wrap", available at Home Depot. this prevents any moisture from entering the basement from the floor and also allows any moisture that may enter through the foundation to run under to subfloor and be reabsorbed by the cement floor. Finally it allows you to lay a subfloor and T&G OSB and negates the need for any pressure treated lumber. No carpet or underlay getting damp and mouldy because it was laid on concrete.
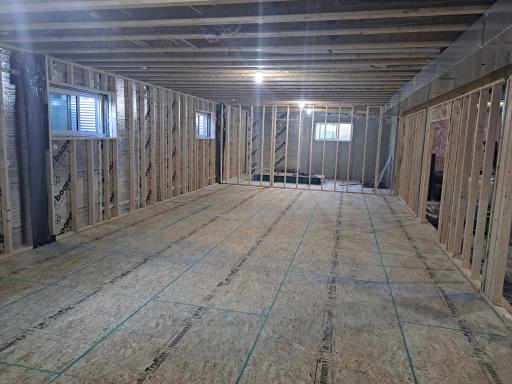
Step Three:
The framing. I went with 2 x 4 studs on 16 inch centers. A little overkill but I like things built solid
Step Four:
The wall systems in the music room are based on the room that Robert Harley (?), editor at TAS built in his own home. Needless to say I only copied some of the ideas, and I found most materials could be sourced way cheaper if you look around. For example, Home Depot wanted $14 per 12 foot furring channel. I called a couple metal shops and found one that makes their own, exact same product, for $4.75 each. His story is here:
https://www.google.com/search?q=absolute+sound+editors+home+listening+room+video&rlz=1CAFUBQ_enCA1075CA1075&oq=absolute+sound+editors+home+listening+room+video&gs_lcrp=EgZjaHJvbWUyBggAEEUYOTIHCAEQIRigATIHCAIQIRigAdIBCjM0NzkzajBqMTWoAgCwAgA&sourceid=chrome&ie=UTF-8#fpstate=ive&vld=cid:15e52085,vid:OtUcfiaN6CY,st:0
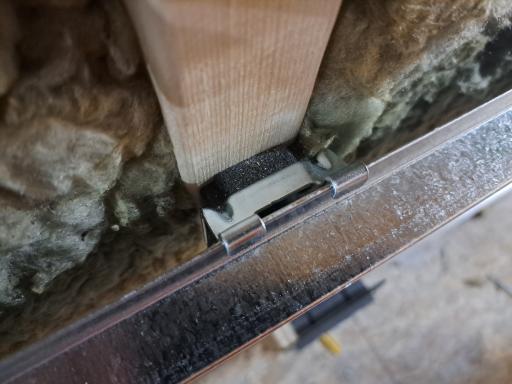
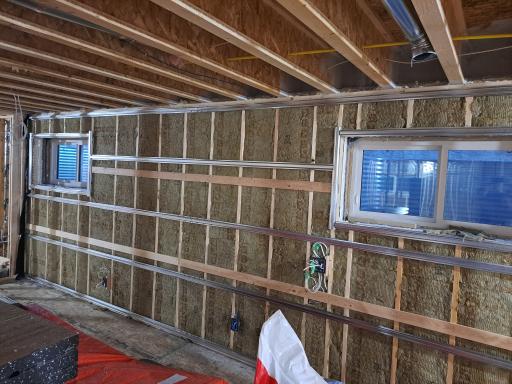
After insulating the entire room with Safe & Sound Mineral Wool insulation, and strapping the walls with rows of 1x4 for additional stiffness, I secured a pattern of Genie Clips to the studs. These are metal brackets with a large rubber isolation that goes against the stud. Metal furring channels then clip onto these
Because the drywall will be "hung" on the furring channels, the surface of the drywall will be about 2 inches away from the studd face. This created a slight problem attaching electrical boxes. The work around was to make plywood gussets that would hold the boxes away from the studs.
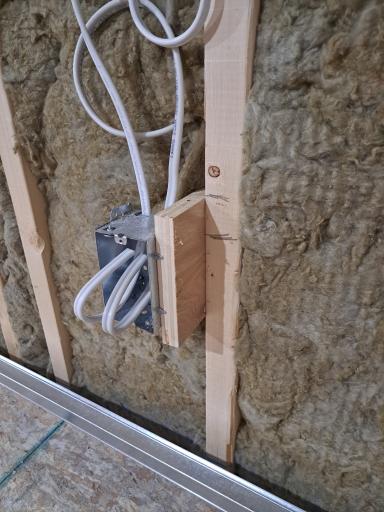
Since I was going to attach a double layer of drywall, it didn’t matter that the gusset cut through the first sheet. They were completely covered as normal by the second layer of drywall.
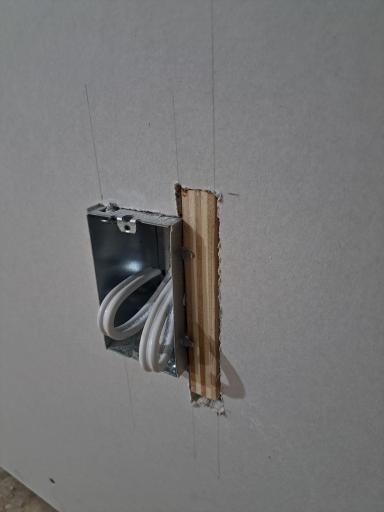

I used hundreds of thin vinyl spacers between the two sheets of drywall
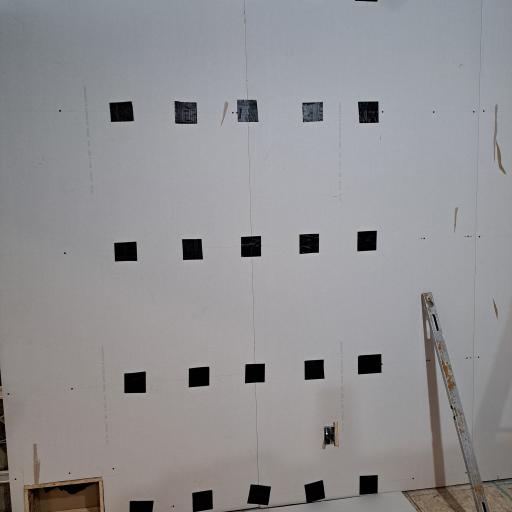
Side profile of the walls.
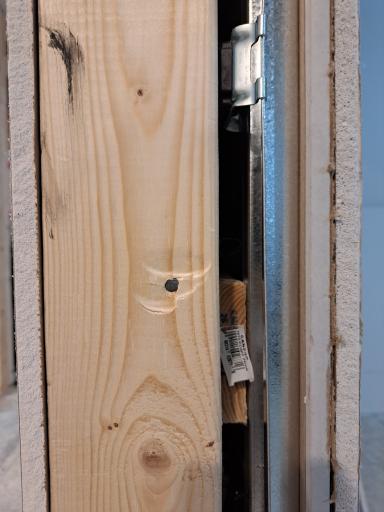
The theory is that the drywall is suspended on the furring channels and not physically attached to the studs. This allows the walls to "vibrate" when sound waves hit them, and transfer the waves into heat, absorbed by the wall. In essence, turning the entire room into a giant Bass Trap. Hey, who am I to question people to do this for a living? It’s very cool that if you are talking as you enter the room, the sound of your voice changes in your head. The pressure in the listening room is completely different from outside the room. All that material and design in action.
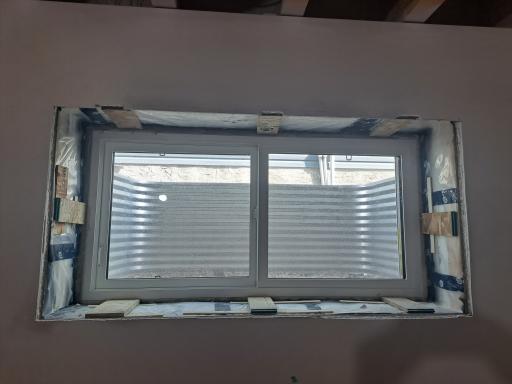
All the widow opening needed to be boxed in with 3/4 inch MDF
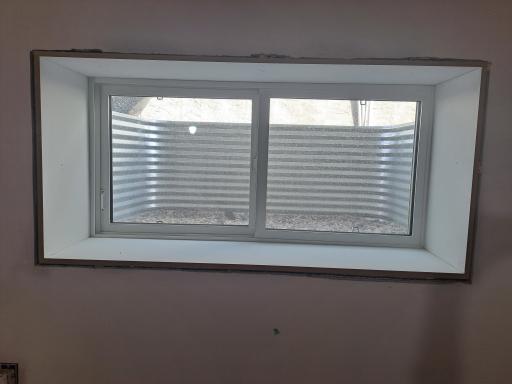
Most of the way there.
The basement walls are 9 feet tall but my ideal room size is only 8 feet, so I installed a suspended ceiling. This allowed me to hide the cold air return and the central vac system I put in. The ceiling tile was sourced from Home Depot and has a sound absorption rating of 70%
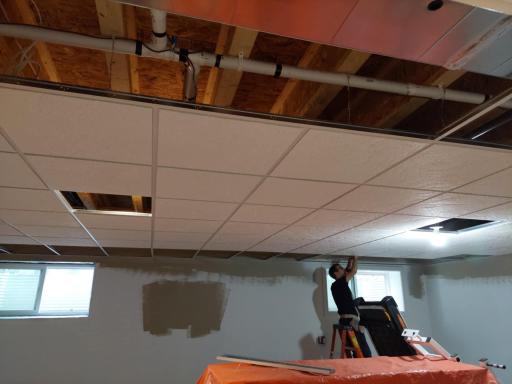
While all the instructions for installing a ceiling suggest you need laser levels and other specialized equipment, I hung the entire ceiling using a single 10" piece of 2x2. Ten inches was the distance from the bottom of the floor joists to the top of the main supporting tracks. Loosely hung a main support and then used the 2x2 block to set the hanging wires. The entire installation took two days and it is perfectly square and flat. Yes, I am pleased with myself. 🤣
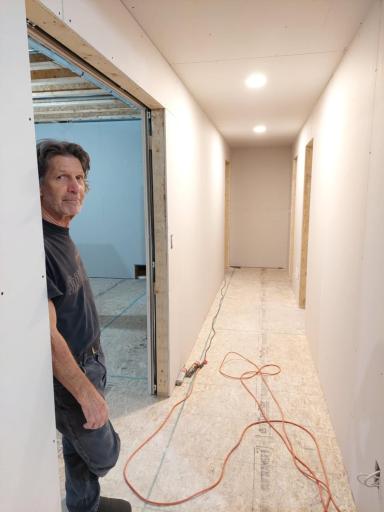
I installed a total of 8 flush mount leds lights, on two different 3-way switches, both are dimmers. One set for general lighting and one set for accent lighting.
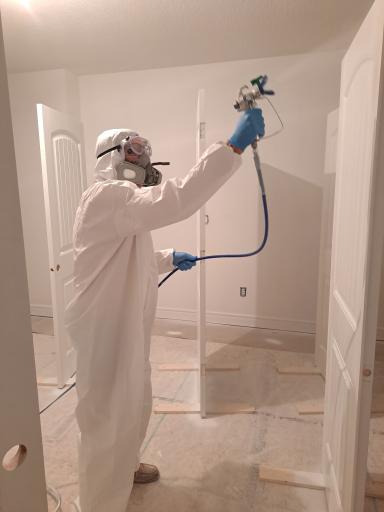
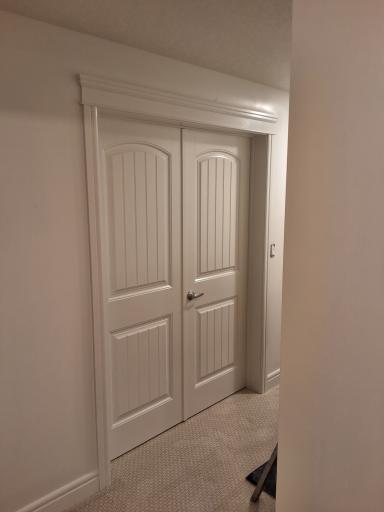
Prior to painting the walls, all the trim was installed and sprayed in place.
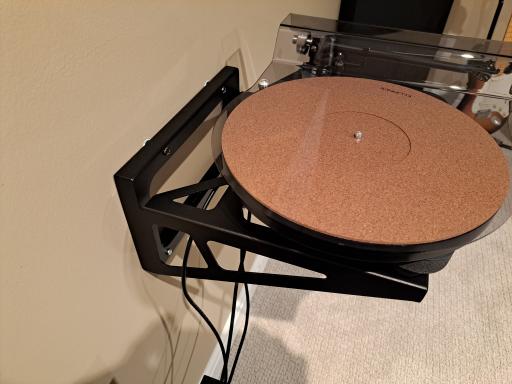
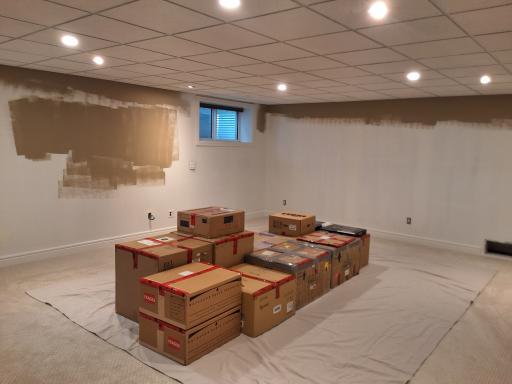
Finally the day arrived when I started to move boxes of equipment downstairs
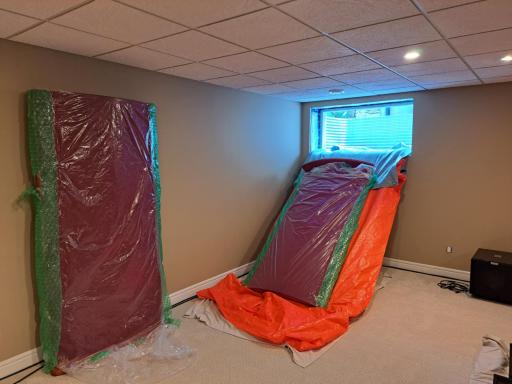
And this is how you get SoundLab Majestic 745 speakers into the basement, when they won’t make the corner at the bottom of the stairs. Thank goodness for 60 inch windows.
The Reveal.
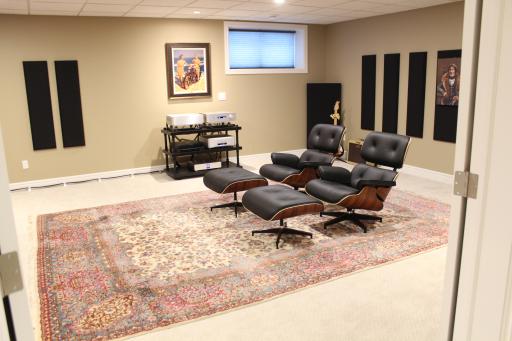
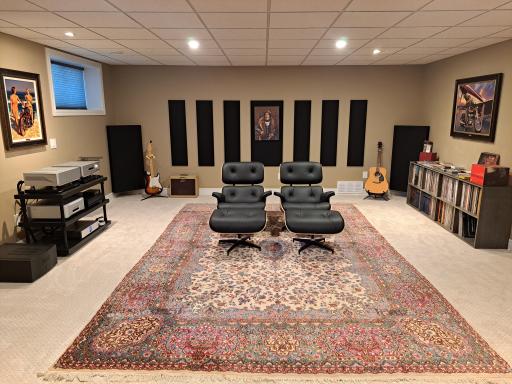
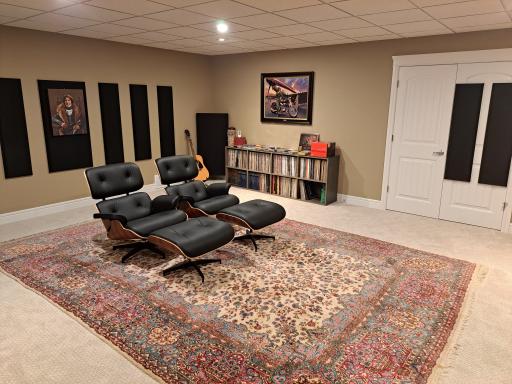
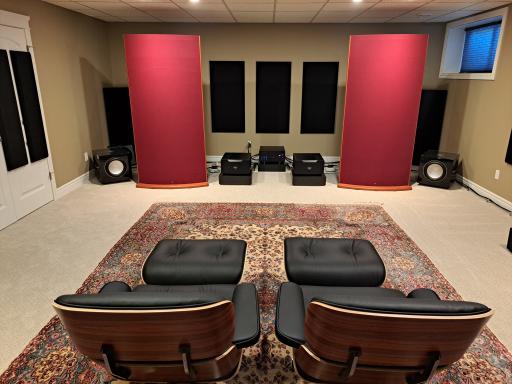

The results of this project exceeded my expectations. While my previous room sounded great, the soundstage in the new room is truly on another level. Wider for sure, but the depth of the stage is all together different. A three dimensional presentation I’ve never had before.
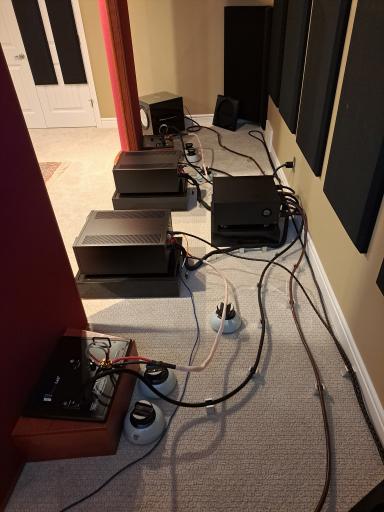
On a few technical notes, I ran a dedicated 8 AWG line from the main panel to a 250 volts outlet, using double 30 amp breakers. This line powers my Equitech 5RQ Step down transformer. Providing fully balanced 125 volts power to my amps, through 1 meter Puritan Ultimate cables. The 5RQ also powers my two
REL s812 subs and my speakers.
A second 12 AWG 20 amp line runs to my front end equipment that is situated about 15 feet from the amps. Long XLR cables from Sound Sensibility join it all up.
It was a lot of work but extremely gratifying. On a financial note, I asked the builder to quote the whole development for me, based on my building specs. They quoted me 90K - 100K. The total cost of the entire basement came in at $46,000. That number includes all materials and the small amount of contracted labour for the taping and carpet. All dollars are in Canadian currency.
The EXTRA cost of the basement development, specifically inflated tied to the construction of the listening room was +/- $5000
I hope you have enjoyed this little journey with me. My wife assures me there will not be another one. 🤣
Cheers,